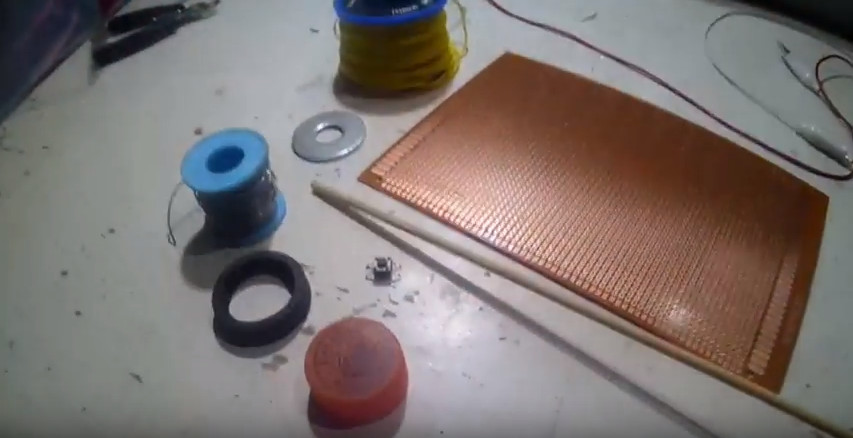
BOM
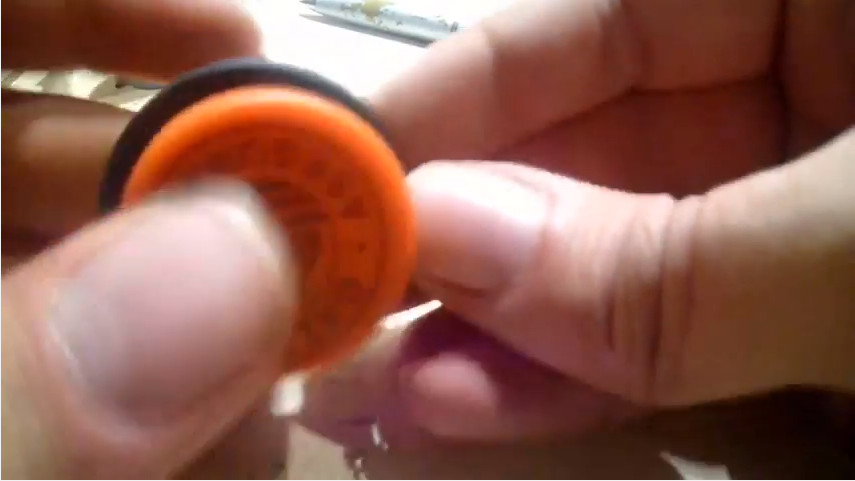
- Plastic Bottle Cap
- Rubber O'ring with inner top and bottom walls
- Washer of the same or a bit bigger size of the O'ring
- Wood stick
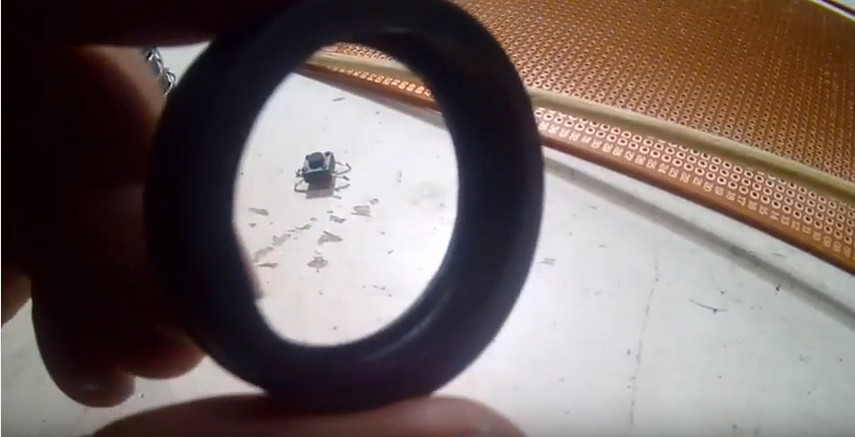
- Pushbutton switch
- Protoboard
- Spring of the length as the depth of the plastic cap
- Wire, soldering iron and hot glue
Important Notes
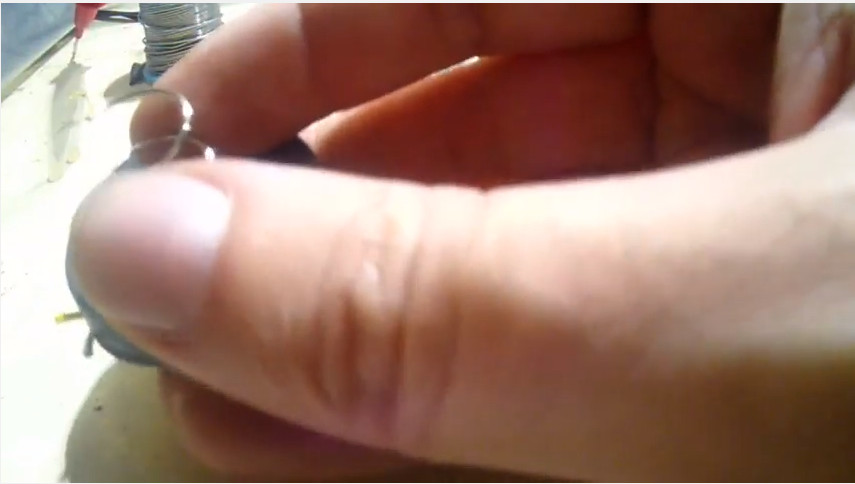
As you see, the most important and unusual part, is the O'ring. it can be of any size, as far as:
1) it has top and bottom inner walls. this will hold the washer on the bottom and the plastic cap in the top, as you see here.
2) it must be of rubber, to have the flexibility to adapt to the form of the bottle cap and the washer.
When you already have it, you can buy a washer that has the same or slighter larger size of the O'ring
Assembling
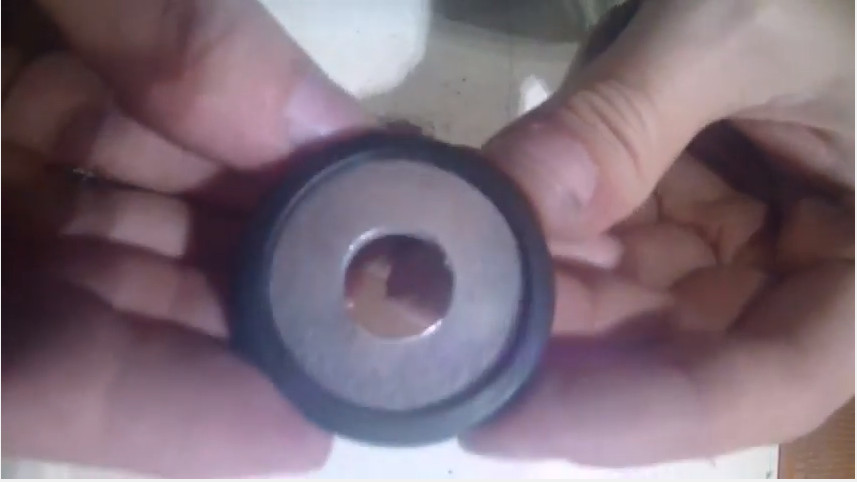
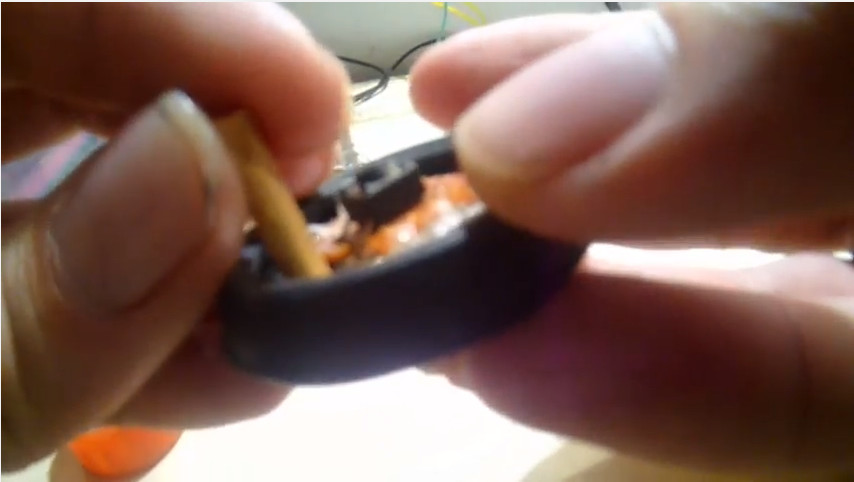
Insert the washer inside the O'ring, adjust to one of the edges inside of it
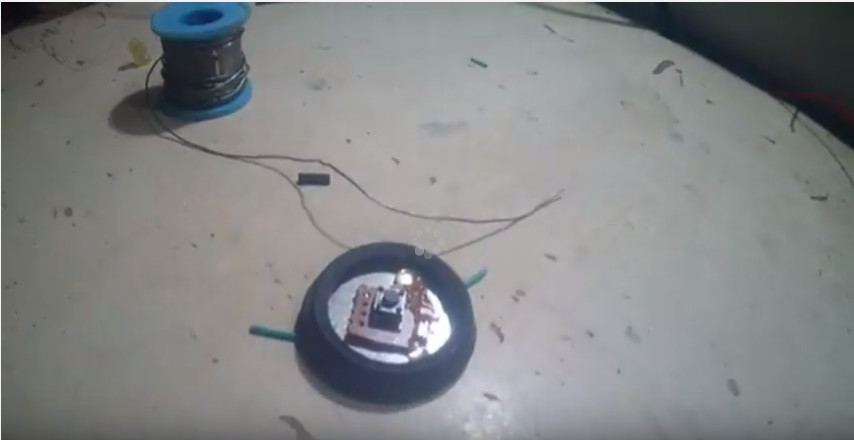
Solder the switch pushbutton in the protoboard with a couple of wires and glue it to the washer
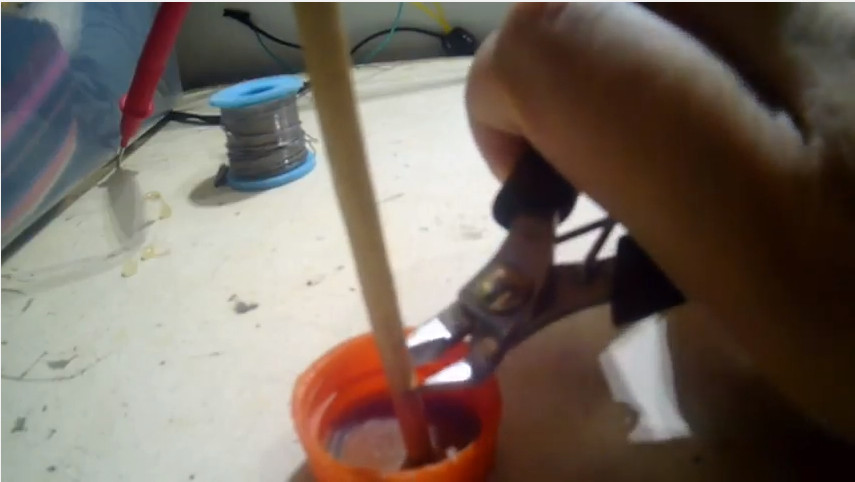
Grab the wood stick, and put it inside the bottle cap and use the border of
it to get the correct length and cut a part of it
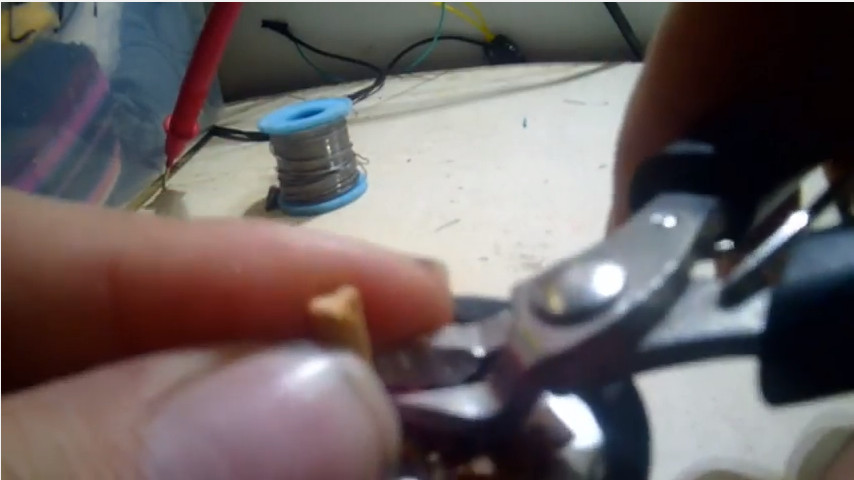
With the part you just cut out, put in on top of the washer and use the top of the
pushbutton switch whiteout pressing it, to cut it in the exact length needed.
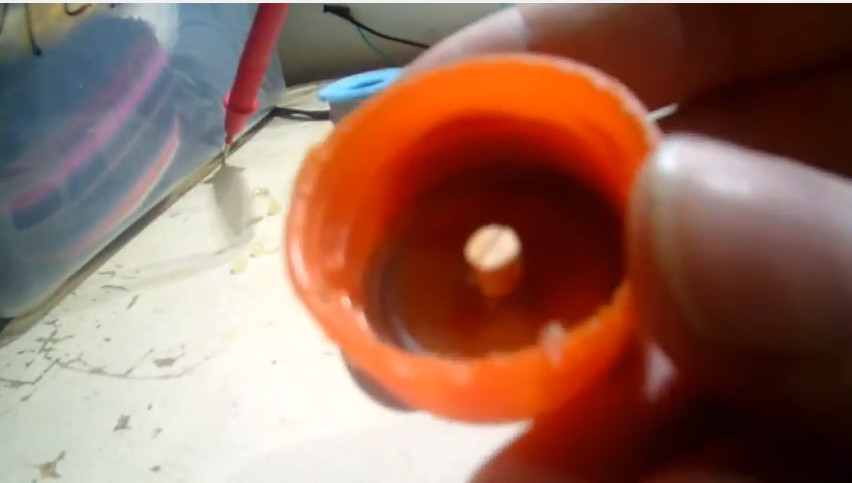
Finally, glue the cut wood stick to the center of the bottle cap

If your spring is metallic, aislate the contacts of the pushbutton with a bit of tape
Insert the spring on top of the pushbutton switch and secure it with the bottle cap
Done!
And you just made it ! An arcade pushbutton with a plastic bottle cap and a couple of other materials!
If you like the content, be sure to follow us in our social networks in the top of this page.
Also, you can checkout our
games,
apps and other
DIY projects


